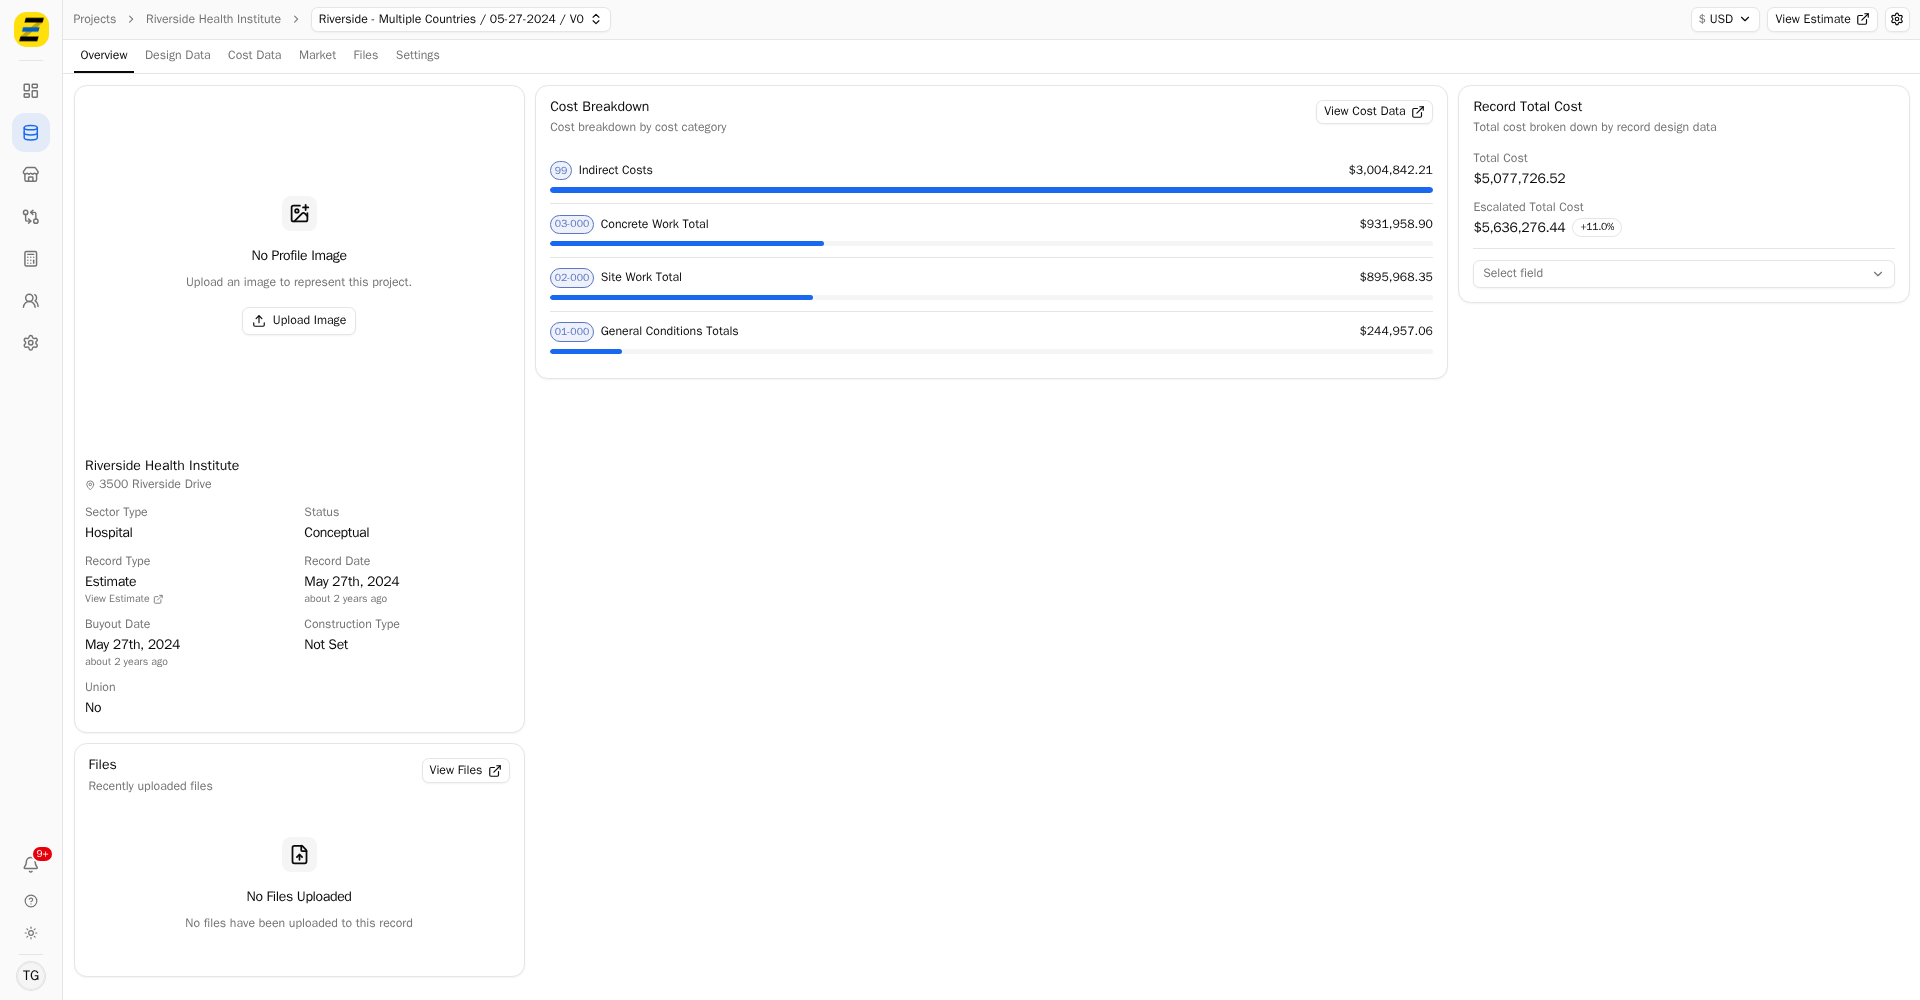
A profile image gives a project a face — a rendering, a site photo, an elevation — so it is recognizable at a glance rather than being one more row of text. The image belongs to the project record, so it shows on the estimate and on the record itself.
To add a "Profile Image" follow these steps.
Navigate to the desired estimate and select the "Summary" tab. The card down the left hand side carries the project's details, and the image sits at the top of it. Until one is set the card reads "No Profile Image".
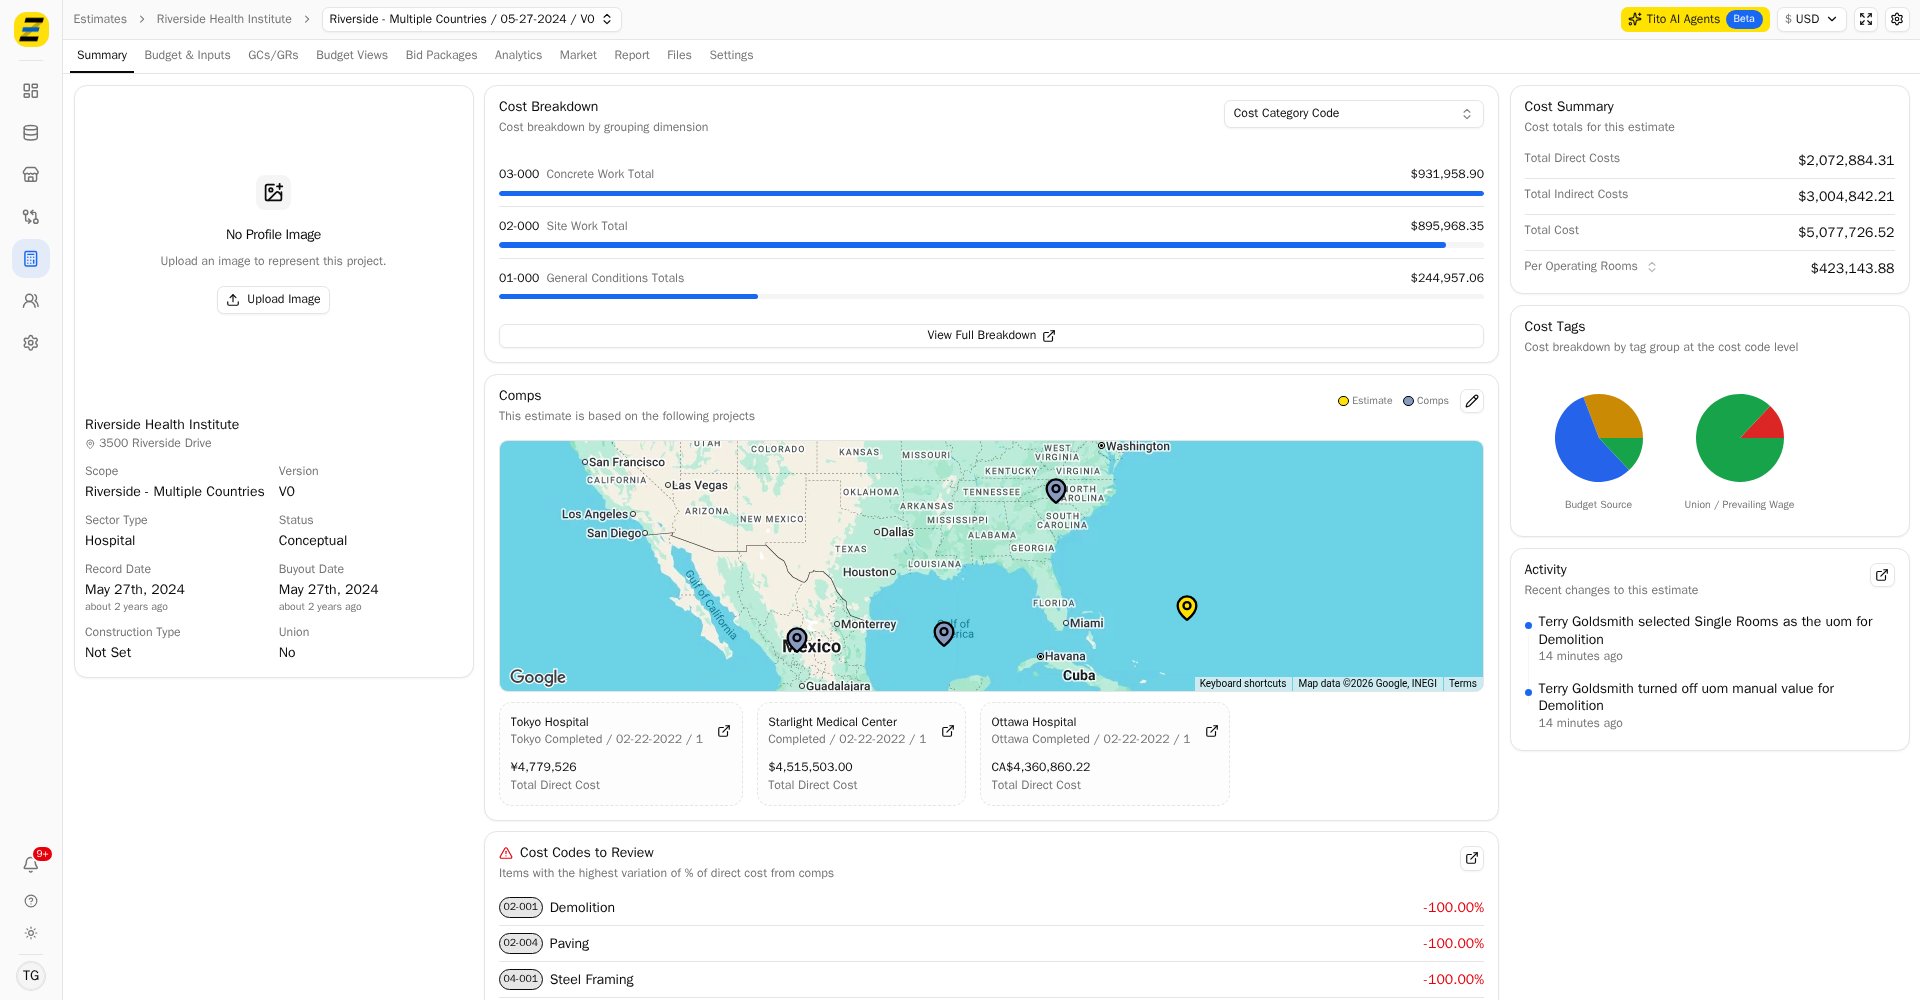
Press the "Upload Image" button and choose a file from your computer. Any common image type will do.
Zebel resizes the image for you before it is stored, so there is no need to shrink it first.
Once it is set, the image fills the top of the card and the project details sit beneath it.
To change it later, press the small "pencil" button in the top right corner of the image and pick a new file. The new image replaces the old one.
The same card appears on the project record itself — press "Projects", open the project and then the record, and you will find it on the "Overview" tab. Uploading in either place sets the same image.