
Your branding is what Zebel puts on everything you send out — the logo at the top of an exported report, the colors the charts are drawn in, the font the document is set in. Setting it once means every report and shared document comes out looking like it came from your company.
To set your "Branding" follow these steps.
Press the "gear" icon in the bottom left corner to open your company settings, then select "Branding" under "Company". The page holds four cards — "Company Logo", "Company Icon", "Color Palette" and "Default Font".
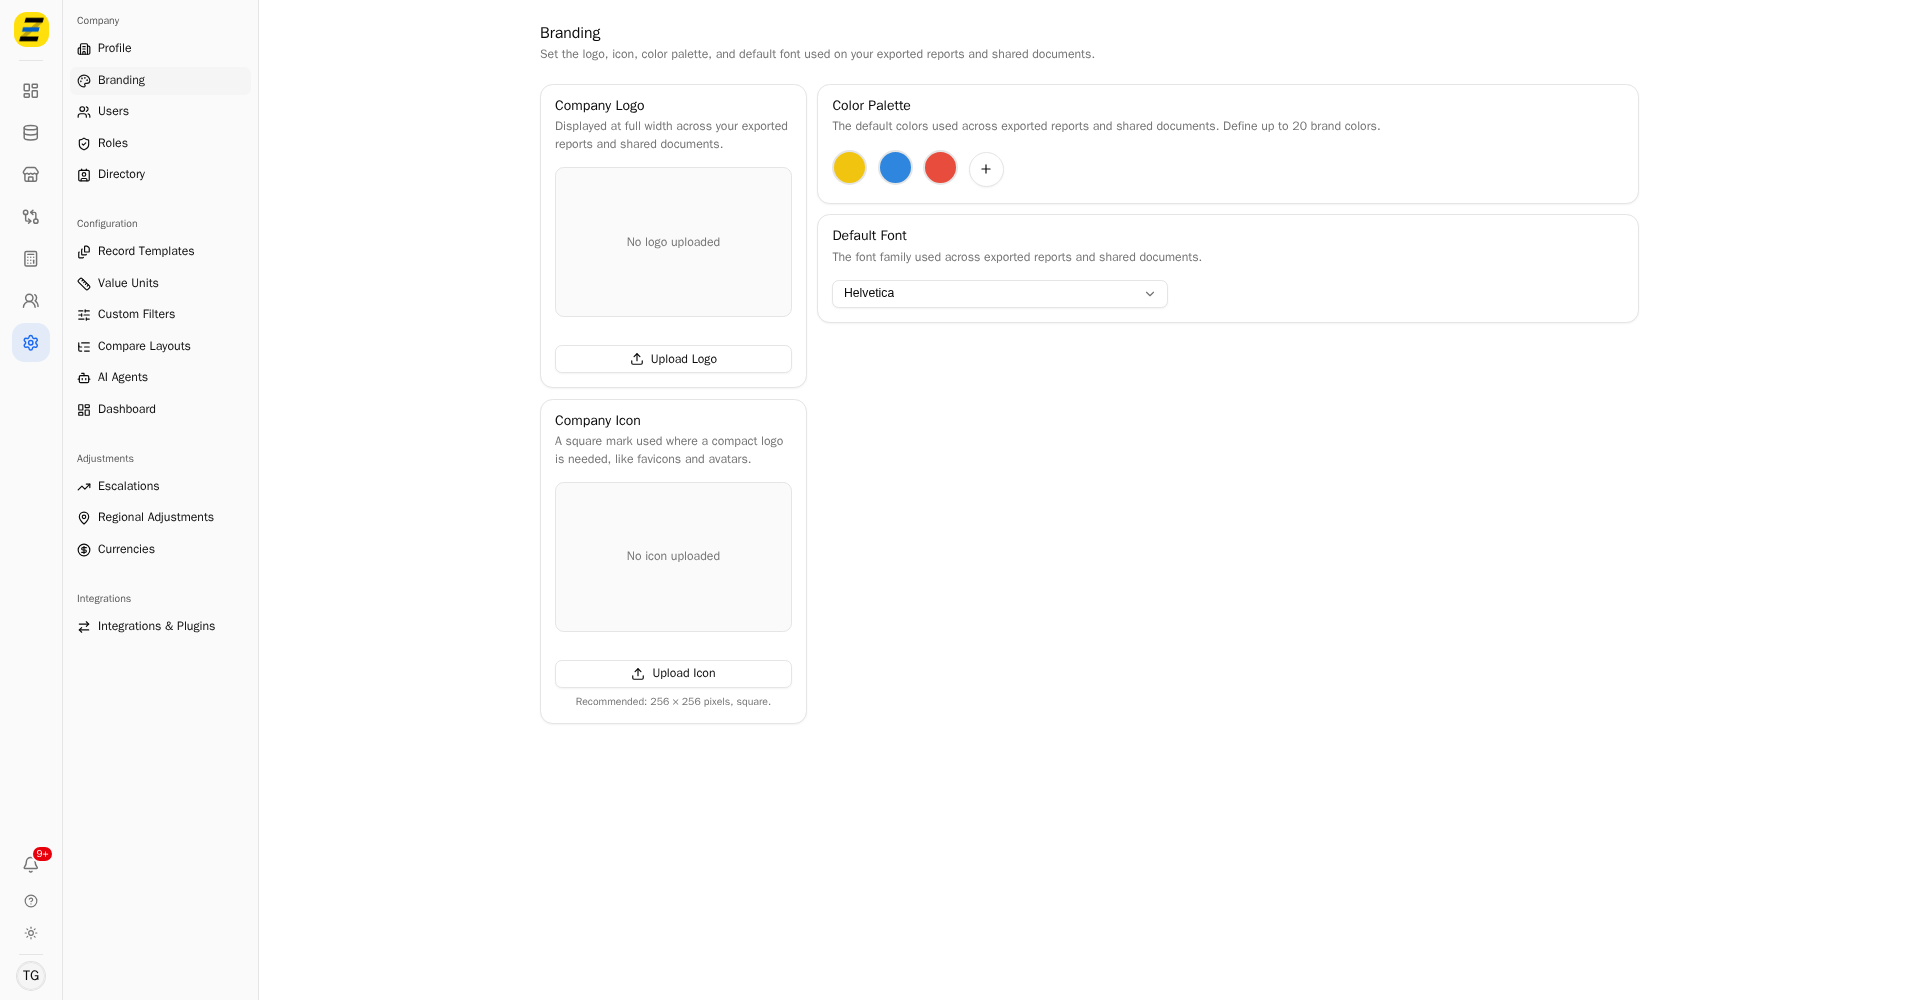
Press "Upload Logo" and choose your logo file. It is displayed at full width across your exported reports and shared documents, so a wide, transparent-background file works best.
Press "Upload Icon" for the square mark used where a compact logo is needed, like favicons and avatars. Zebel recommends 256 × 256 pixels, square.
To add a brand color, press the "+" button in the "Color Palette" card. A new swatch appears at the end of the row.
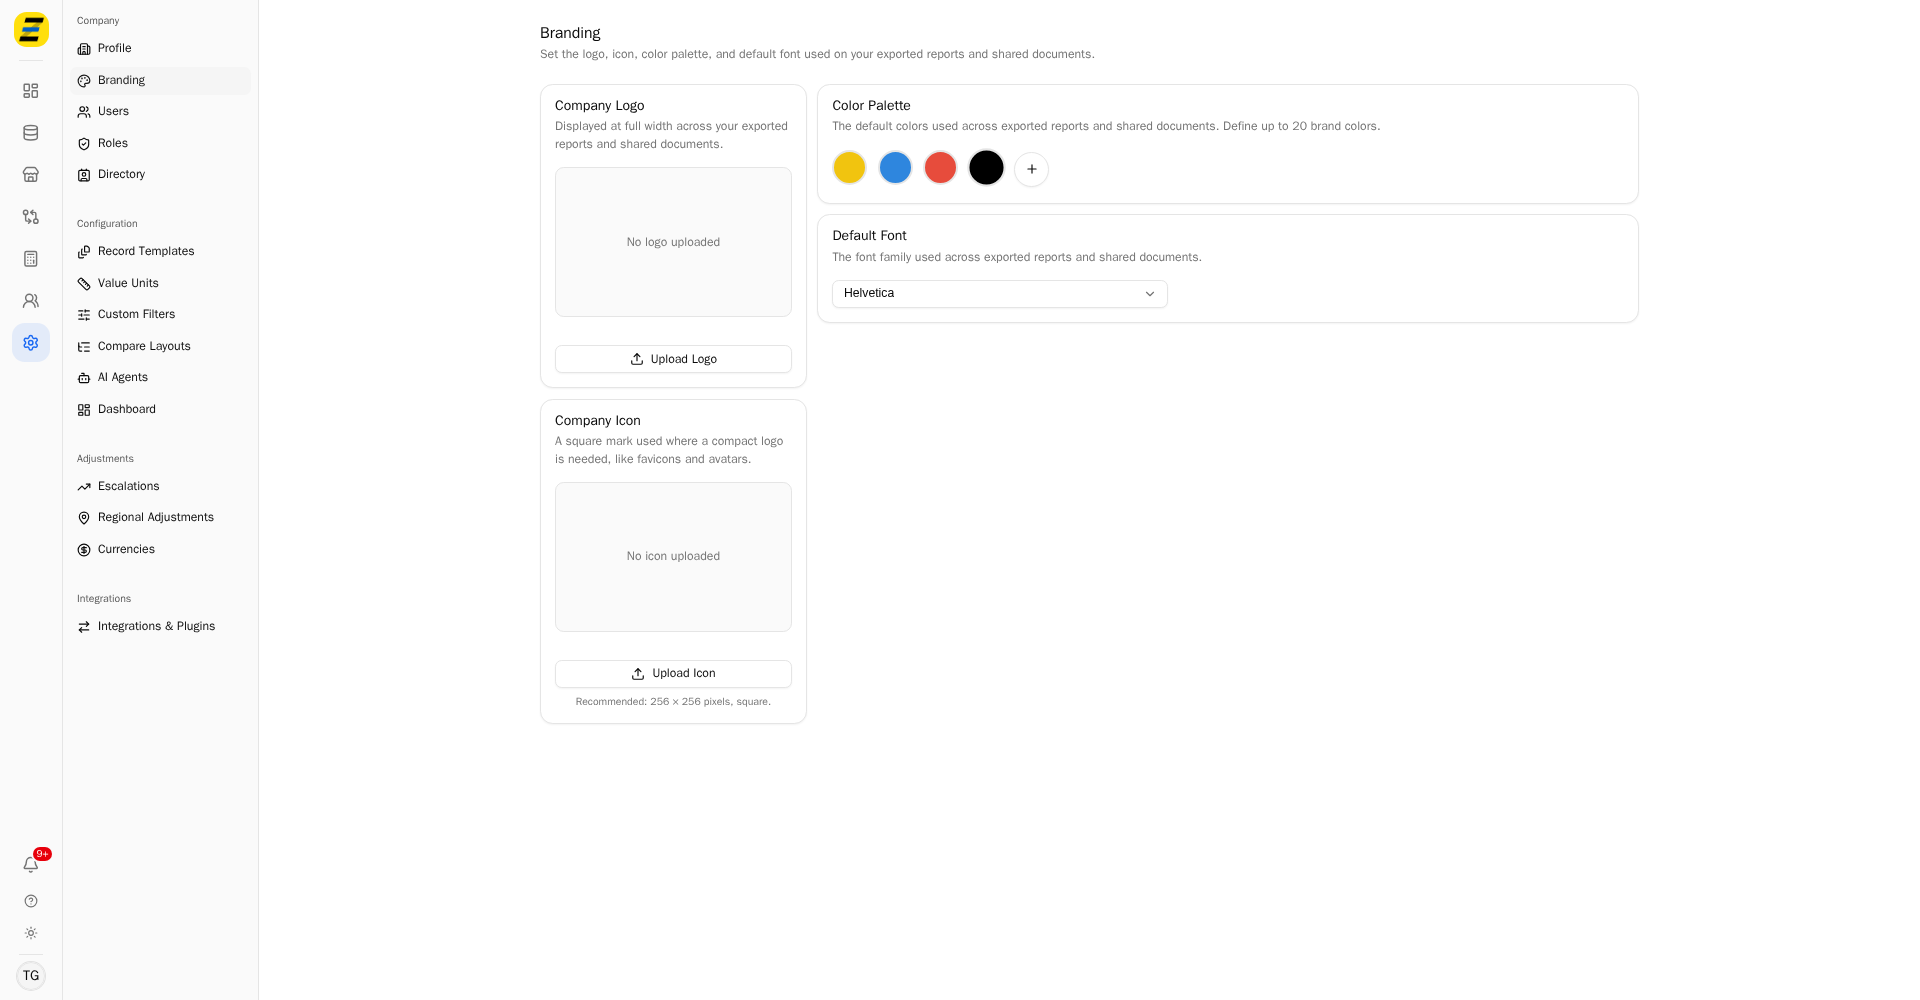
Press the swatch to open the color picker. Drag in the square to choose the shade and use the strip beneath for the hue, or type the hex code straight into the box if you know it. I.e.. "#0F766E". The swatch updates as you go and saves itself.
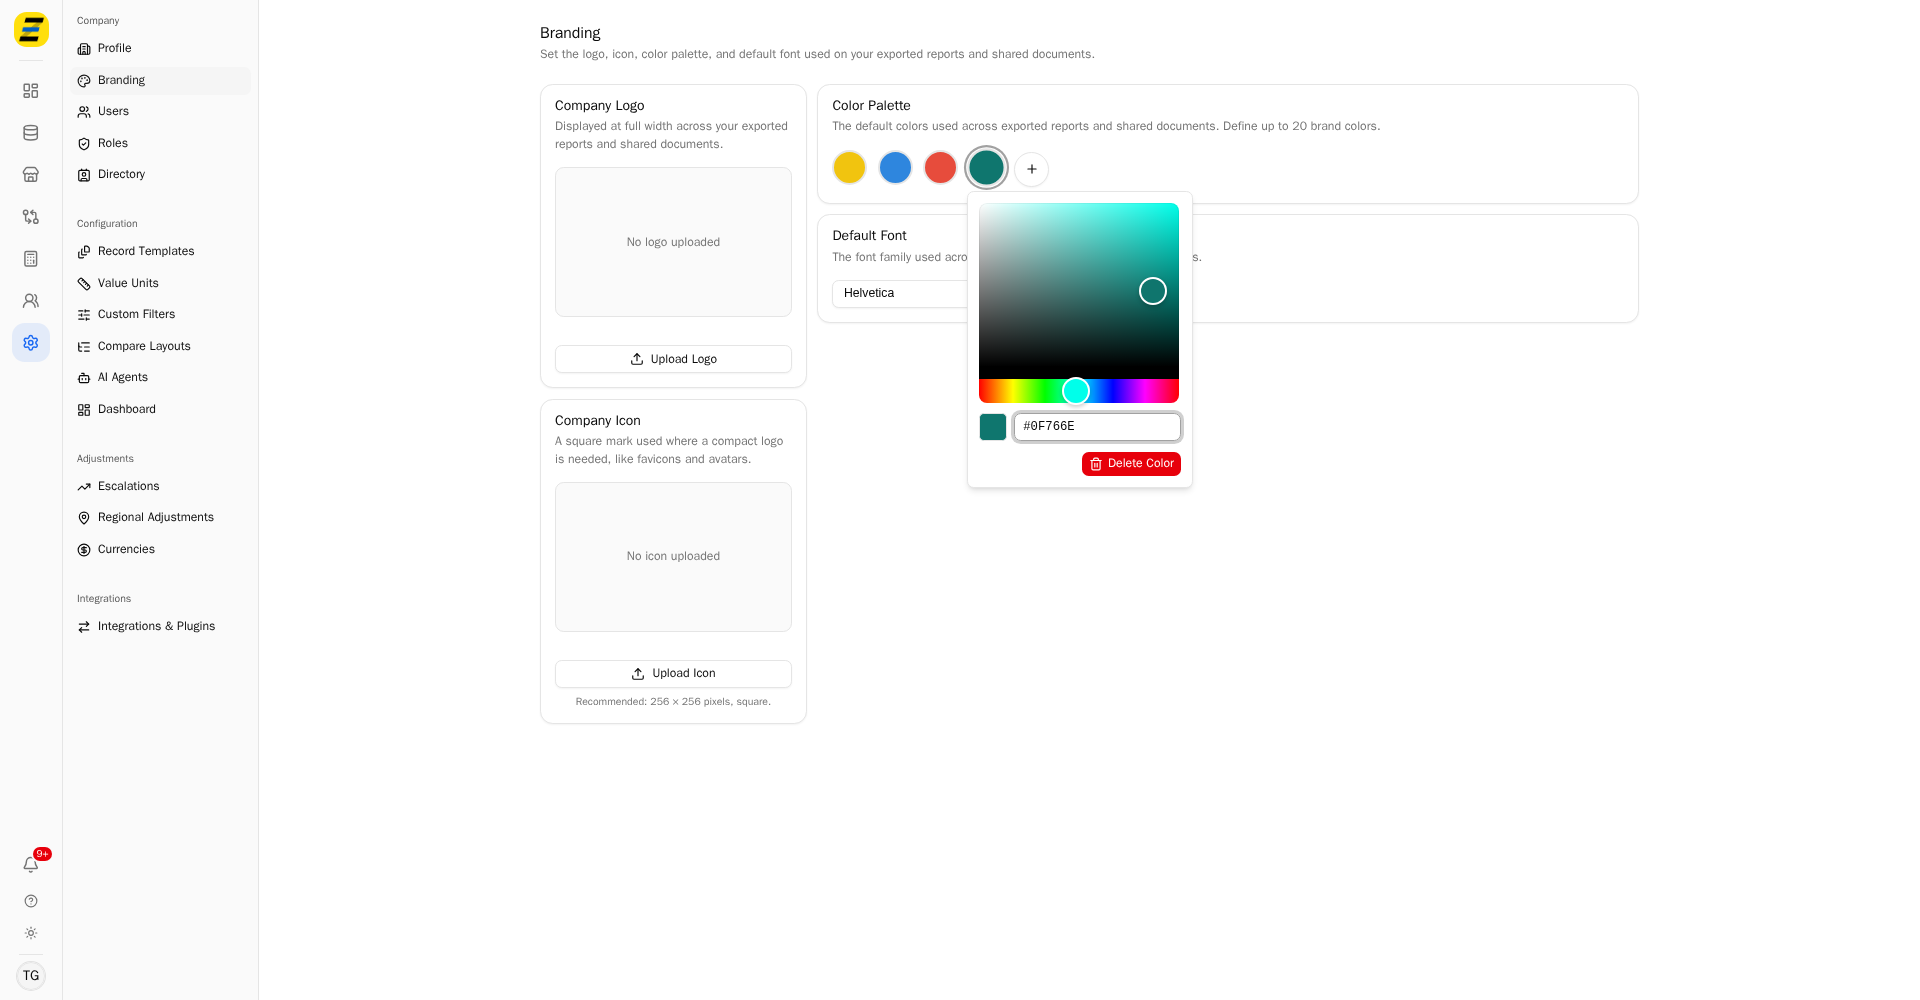
To remove a color, open it the same way and press the red "Delete Color" button.
NOTE, you can define up to 20 brand colors. They are the default colors used across your exported reports and shared documents.
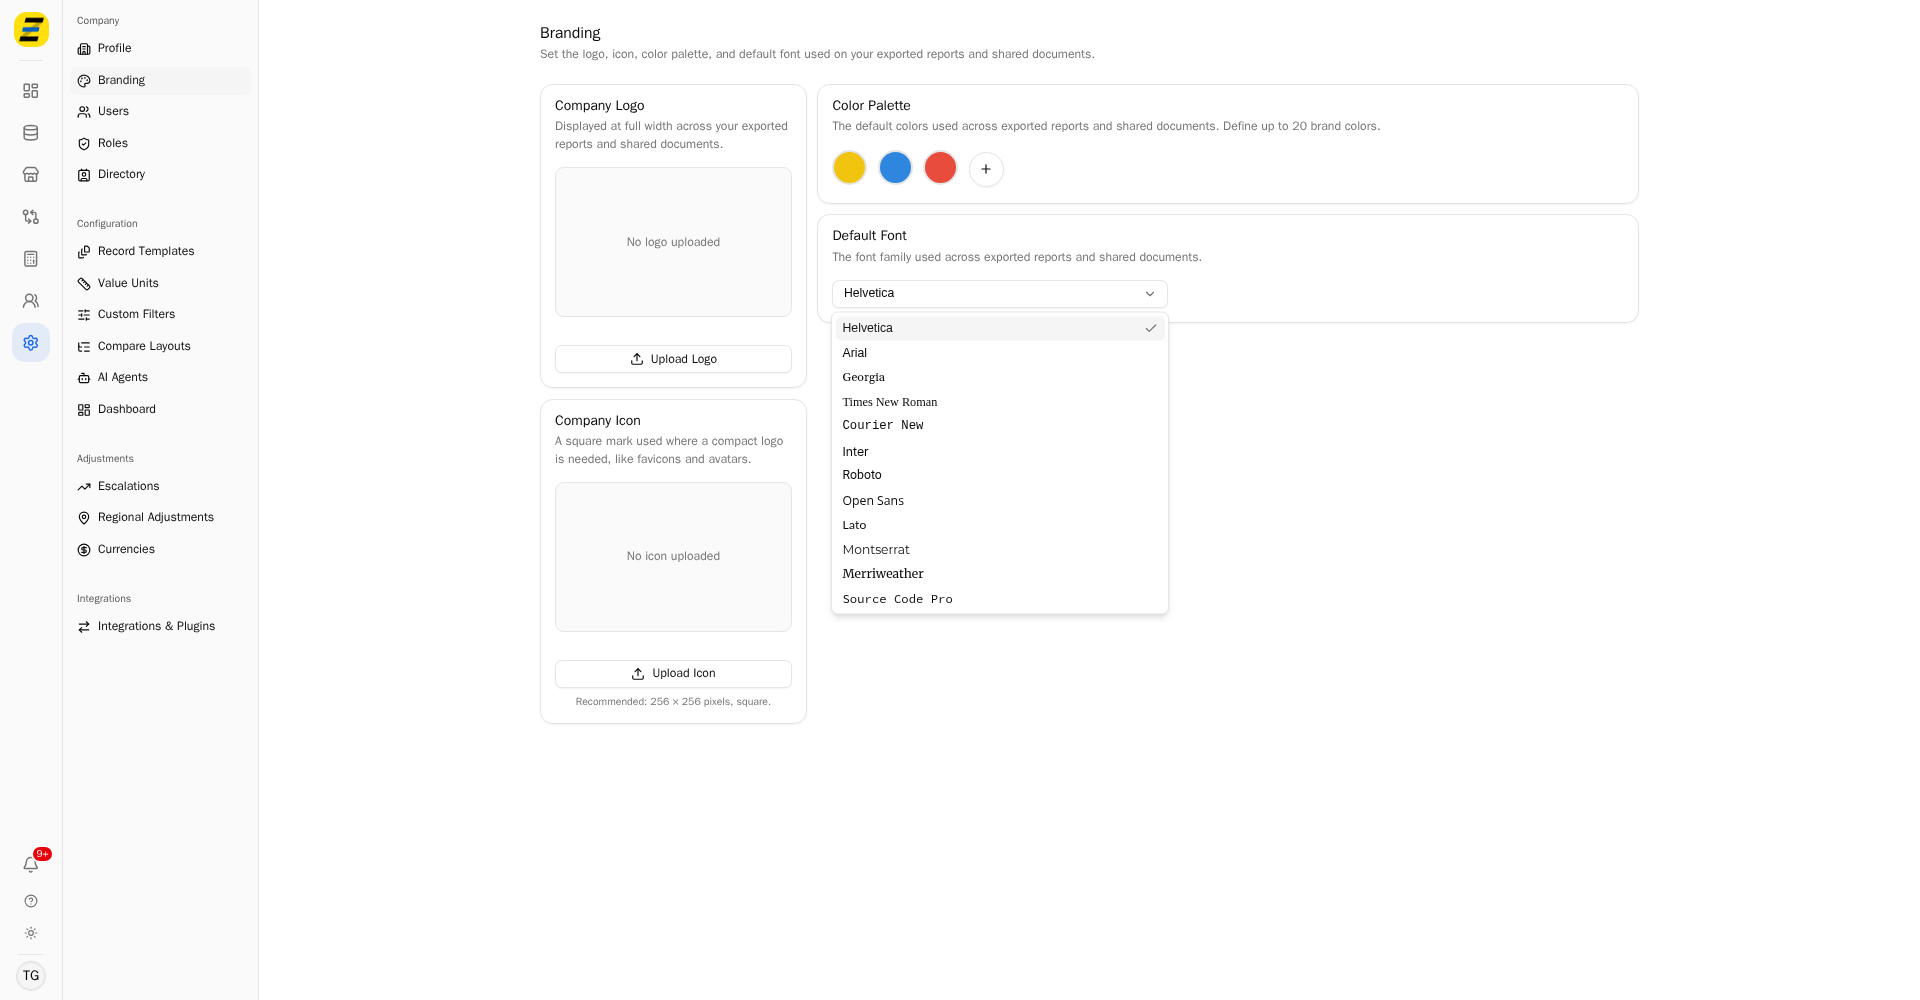
To change the typeface, press the "Default Font" dropdown and pick from the list. Each option is drawn in its own font, so you can see what you are choosing — "Helvetica", "Arial", "Georgia", "Times New Roman", "Courier New", "Inter", "Roboto", "Open Sans", "Lato", "Montserrat", "Merriweather" and "Source Code Pro".
Please note that everything on this page applies to what you send out, not to what you see in Zebel — the app itself is unchanged. Set it once and every report and shared document follows.